Task Assignments
Assigning tasks is a crucial feature that helps in distributing responsibilities among users and/or groups. When a task is assigned, it not only clarifies what each team member should be working on but also actively informs them via email or Slack. This ensures that all team members are aware of their responsibilities and facilitates tracking of progress on individual tasks.
Types of Task Assignments
There are three primary methods to assign tasks:
- Checklist Task Assignments: Assign tasks directly within your checklists. These assignments are specific to the checklist from which they are made.
- Template Task Assignments: Assign tasks to specific users and/or groups within your template. The assignments will propagate automatically to every checklist instance derived from the template.
- Dynamic Task Assignments: Bind task assignments to various elements within the system, ensuring that tasks are assigned automatically based on predefined rules.
In this topic we are focusing on Checklist Task Assignments.
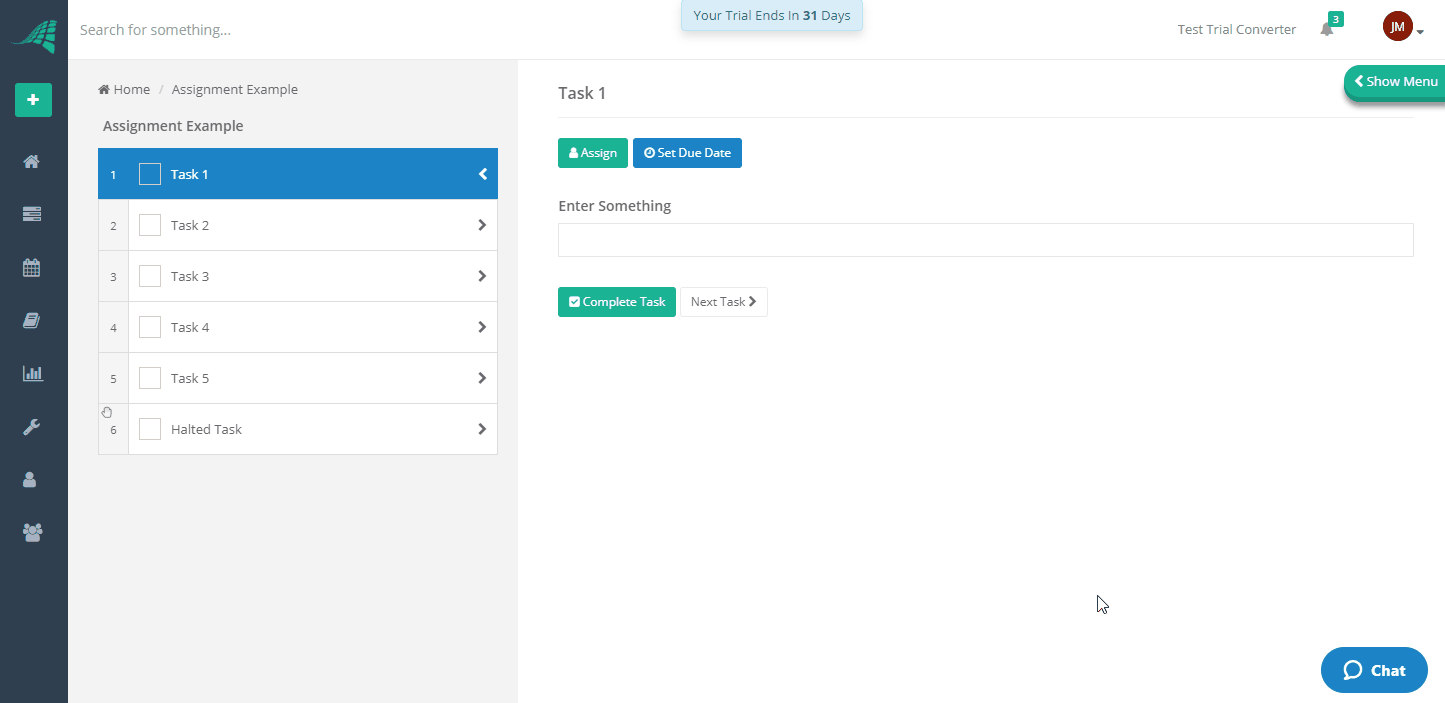
How to Assign a Task
- Open the Checklist: Navigate to the checklist and select the desired task from the task list.
- Click the Assign Button: At the top of the task content area, click the 'Assign' button on the toolbar.
- Select Assignees:
- A popup will appear displaying a dropdown list of users and groups.
- Select the desired users and/or groups by clicking on their names. A tick will appear next to each selected name.
- You can select multiple users and groups as needed.
- Set Assignment Restrictions (Optional):
- Below the dropdown, a checkbox titled 'Only Assignees Can Complete This Task' allows you to specify if the task can only be completed by the assignees.
- If checked, the task will be greyed out for non-assignees, making the content inaccessible and the completion checkbox disabled.
- Apply to Other Unassigned Tasks (Optional):
- Below the dropdown, a checkbox titled 'Copy Assignment To All Other Unassigned Tasks' allows you to apply the same assignments to all other unassigned tasks.
- This is useful for assigning in bulk. Other tasks with existing assignments will not be affected.
- Save Changes: Click the 'Save Changes' button to save the assignments and close the popup.
How to Unassign a Task
Unassigning a task follows a similar process:
- Click the Assign Button: As with assigning, click the 'Assign' button.
- Deselect Assignees: In the popup, deselect the users and/or groups by clicking on their names again to remove the tick next to their name.
- Save Changes: Click the 'Save Changes' button to save the changes you have made and close the popup.
How Assignments Are Displayed
Assignments are indicated next to the task name in the task list:
- Single Assignee: Displays the avatar of the user or group.

- Multiple Assignees: Shows a multi-avatar icon with the number of assignees indicated next to it.

Hovering over any avatar will display detailed information about the assignees, including the type of assignment (exclusive or normal) and the names of each assignee.
Notifications on Task Assignment
When a task is assigned, the system automatically sends notifications to the assignees to alert them of their new responsibilities. These notifications ensure that assignees are promptly informed and can take action on their assigned tasks without delay.
Types of Notifications
Assignees can receive notifications through the following channels, depending on system configuration:
- Email: An email notification is sent to the assignee's registered email address. This email contains details of the task, including a direct link to the task for quick access.
- Slack: If Slack integration is configured, a notification is sent directly to the assignee's Slack account. This message includes essential task details and a link to the task.